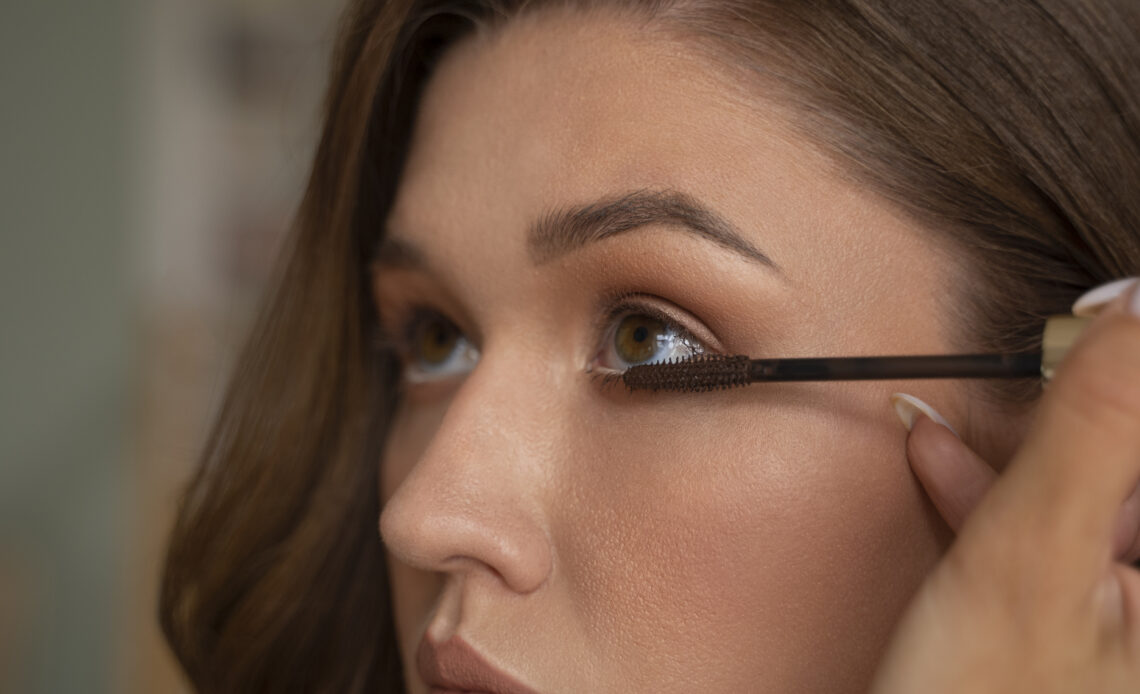
Eyes are the soul of our look; you get a stunning new look if they are highlighted. Eye highlighters, as the name suggests… when appropriately used, contour and brighten the eyes to make them look bigger and more open.
If you like to go for natural day makeup or, nowadays, popular night glamour makeup… you will benefit from learning how to blend the
Eye highlighter properly for that extra sparkle and polished look.
It also introduces valuable advice on deciding on the correct Eye highlighter hue that will match the skin tone, strategies… for underlining the shape of the eyes, and the proper way of mixing to achieve the most natural look possible.
The fundamentals of highlighting workings and more advanced techniques professionals… employ in applying Eye highlighter will be explained in detail. By the end of the course, you will be comfortable making those standout and gorgeous effects that captivate and accent the face as you wish.
Basics You Need to Know
Eye highlighter is not just another product that can complement a makeup look. So, It is a weapon that helps enhance eyes.
It is a makeup product that, regardless of whether you prefer a natural, day-to-day luster or a far more intense night shimmer. It will improve your looks in various approaches.
That is how it does its job. It captures light, enhances the shape of your eyes, and makes you look less tired and more rested.
Positive effects include highlighting the brow bone, strengthening the eyes’ size and shape, and concealing the eye bags.
Types of Highlighters and Their Prices
In the case of eye highlighters, there are as many options as they are fascinating. All the types of highlighters fit your eyes’ contour and help you achieve the right makeup for day and night.
Here’s a rundown of the different kinds of eye highlighters. Also along with their average prices. Here’s a rundown of the different types of eye highlighters, along with their average prices:
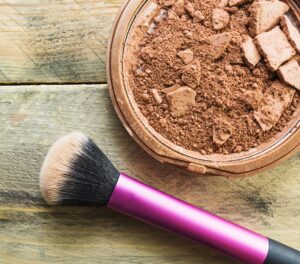
- Powder Highlighters
- Description: The powder highlighters are easy to apply and mix easily with the other shades. Hence, they are ideal to give your eyes a slight shine or brightening.
- Price Range: $10 – $40
- Popular Brands: Becca Shimmering Skin Perfector for $38, MAC Mineralize Skinfinish for $36
-
- Cream Highlighters
- Description: Powder highlighters, conversely, give a more sheen comfort. For those with dry skin, we recommend using cream highlighters.
- Price Range: $15 – $45
- Description: Powder highlighters, conversely, give a more sheen comfort. For those with dry skin, we recommend using cream highlighters.
Popular Brands: Lip gloss /Glitter Gloss ($16). Lip GelCrème ($15). Dior Stellar Shine UMP ($33) lip gloss. Haloscope ($22), Fenty Beauty Match Stix Shimmer Skinstick ($25).
- Cream Highlighters
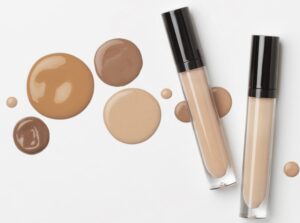
- Liquid Highlighters
- Description: Both liquid highlighters are very neon and give the skin a bright coverage. Note that you can blend them with foundation or apply them directly to the skin for a glowing look.
- Price Range: $20 – $50
- Popular Brands: High Beam Benefit ($26), Cover FX Custom Enhancer Drops ($42).
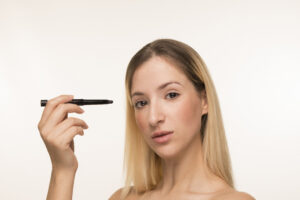
- Stick Highlighters
- Description: A stick highlighter is easy to use and easily carried around. They provide a skinny layer of the tattoo and are best used to correct a small portion.
- Price Range: $15 – $40
- Popular Brands: Maybelline Master Strobing Stick ($10), NARS The Multiple ($39).
- Baked Highlighters
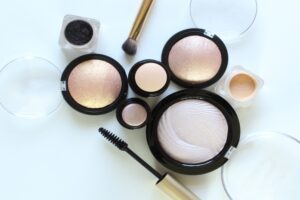
- Description: Baked highlighters, though looked ordinary, have a specific baking process, which gives them a softer feel, like velvet. They are associated with the much-hyped long-wearing finish and high-impact color for these reasons.
- Price Range: $10 – $35
- Popular Brands: Milani Baked Highlighter $10, Laura Geller Baked Gelato Swirl Illuminator $26.
- Loose Powder Highlighters
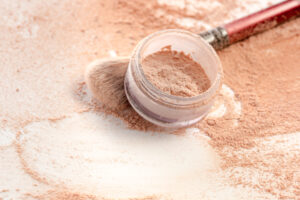
- Description: Loose powder highlighters are pigmented powders that are very soft and fine in their particle size and give luminosity. Compared to pastes, they are complicated to apply, but they make your enamel look luminous.
- Price Range: $15 – $45
- Popular Brands: Lose Highlighter by Anastasia Beverly Hills ($25), Artist Couture Diamond Glow Powder, and Bethlehem Stone by Soul and You.
How to Apply Eye Highlighter Like a Pro: Tips and Techniques
Preparing Your Eyes for Eye Highlighter
Wash the face to clear off the presence of oil and grime before applying the acne mask. Blend in a circular motion to create a delicate surface, and use eye cream to moisturize the skin around the eyes, as it is susceptible in that area.
Place an eye primer to ensure the highlighter is well-fixed and has that extra pop. These steps enhance the probability of the eye highlighter looking bright and lasting for the day.
Creating a Smooth Base for Eye Highlighter
To form a good base in which an eye highlighter can be applied easily, one must ensure the eyes are clean, and the skin around the eyes is moisturized.
Therefore, the preferred sequences to perform are as follows: Wash your face first and then use an eye cream that is light in texture for the eye area.
Choosing the Best Highlighter for Your Desired Look.
Selecting the right eye highlighter includes the following aspects:
- Skin tone where the highlighter will be applied.
- The highlighter’s intensity.
- The finish it will give out.
Use the creamy finish for the natural-looking highlights or powdery for a soft luster.
Prime tools are a petite and soft angular brush for applying and blending the product and a clean finger for even distribution.
These tools mean your eye highlighter accentuates the eyes as you desire, whether for a glow suitable during the day or a great one for use at night.
Mastering Basic Highlighter Application Techniques
Mastering basic eye highlighter techniques begins with understanding where to apply it: for this, you have to use the concealer on the inner corners of the eyes to brighten them and make them more comprehensive, and on the other hand, apply it under the brow bone to lift and define the eyebrows.
Do not rub too much, especially for those with oily skin, because applying too much pressure can make the T-zone shinier. Play with different models and shades to feel what matches the shape of the eyes and skin tone.
These techniques shall help you refine your eyes for that polished and professional look as a model.
Advanced Techniques for a Pro Finish
Consider these advanced tips to achieve a professional look when applying eye highlighter.
You can apply different shades to the area that you want to highlight. Place shimmer or metallic highlighter over the mid area of your eyelids carefully.
Blend to avoid sharp edges or lines, and extend the highlighter slightly beyond the outer corners of the eyes to create a lifted effect. Try to use the highlighter on the brow bone for that extra oomph.
Highlighter Application Tips for Different Eye Shapes
Consider eye highlighters as a weapon in your cosmetology toolkit that can enhance the natural highlights and contours of the eyes. However, the approach to applying highlighter may differ depending on the type of eyes a woman has.
Here’s how to use eye highlighters to bring out the best in different eye shapes:
-
Almond Eyes
- Characteristics: Almond eyes have an INF shape; they are raised to the wings and slanted outward slightly.
- How to Highlight: Carefully apply highlighter in the inner corners of the eyes to help open them up. Using a highlighter to highlight the brow bone will also add an enriching factor to the eye’s appearance regarding lifting it.
-
Round Eyes
- Characteristics: Round eyes are generous, spacious, and unveiled in makeup; they may have a fold.
- How to Highlight: Paying particular attention to the inner corner and the center of the upper eyelid attracts the focus on the roundness. To enhance the shape of the eyes, a highlighter needs to be applied under the brow bone; this will lift the eyes.
-
Hooded Eyes
- Characteristics: Hooded eyes are those eyes in which there is skin that partially closes the eyelid, making the lid look smaller.
- How to Highlight: You should use this to highlight the inner eye corner to make the eyes seem more expansive. Applying a sheer highlight right on the orbital bone makes it look like there’s a lid there when, in fact, there isn’t. The powdered area with light shade will assist in receding the hooded area.
-
Monolid Eyes
- Characteristics: Monolid eyes lack the fold and have a single eyelid with a flat structure.
- How to Highlight: Use a highlighter on the inner rim to brighten the eyes. Take a sparkling shade and apply it on the entire lid so that you can create the impression of tidiness. Brow bone must be highlighted as it also gives the face a more lifted look.
- Downturned Eyes
- Characteristics: Inspired eyes appear to be pulled upward on the outer corners.
- How to Highlight: With the help of an illuminator, bring light to the inner corner to make people look up. Top the highlighter on the area over the brow bone to give the eye area a more perked-up look. Do not emphasize the outer corner because it widens the upward look, discouraged by the downturn.
-
Upturned Eyes
- Characteristics: Rolls have the eyes’ corners tilted up on the outside like the almonds but more so.
- How to Highlight: This must be done while focusing more on the inner corners of the eye to counter the look of the eyes tilted upwards. Applying a little highlighter on the middle of the lid and the brow bone makes the eye look shimmer.
-
Deep-Set Eyes
- Characteristics: It’s an eye shape where the iris, pupil, and all other elements are recessed closer to the nose, pulling the brow bone back.
- How to Highlight: A highlighter is to be applied in the inner corners of the eyes, and a simple line is placed in the center of the eyelid to give the eyes some depth. The choice of the shine to focus on the brow bone is that it can ‘lift’ and make the area look more open.
-
Close-Set Eyes
- Characteristics: Eyes placed nearer to each other are called close-set eyes.
- How to Highlight: Lic tender the focus highlighter to the inner corner of the eyes to give an illusion of space between the two regions. Applying a highlighter to the outer corners of the brow bone will make it appear that it is pulling the light outwards.
-
Wide-Set Eyes
- Characteristics:
- How to Highlight: Apply a highlighter on the inner portion of the eye corner and the middle portion to make the eyes closer. Lighting the area right above the eyes and over the brow bone can also assist in balancing the distances.
- Characteristics:
Mastering the Art of Blending Highlighter
First, use a small quantity of the highlighter at the tear ducts and the brow bone.
To apply the product, use a blending brush or fingertips and then buff it into place using circular, feathery motions.
The aim is to blend the highlighter with the eyeshadow from where it has faded off in a natural-looking glowing manner.
Do not draw distinct lines, as this will worsen the situation; instead, mix well to ensure that the highlighter improves the shape and color of your eyes and the whole makeup.
To obtain the perfect professional look, you must practice and be patient.
Ensuring Your Eye Glow Stays Put All Day
To seal the eye highlighter to last long without wearing off, lightly dust the area you highlighted with a small brush and a translucent setting powder.
This assists in fixing the product and avoiding the development of undesirable creases.
To convert your eye highlighter to nighttime use, it would be appropriate to make it shimmer or have a slightly darker hue compared to the daytime.
Mix gently to ensure no transition lines to make touch-ups at any time of the day or night and still have your eyes look bright.
Layering Eye Highlighter for Maximum Impact
Dry-shaping the eye highlighter applications for eye makeup designs can take you to the next level.
As a first step, begin with a cream or liquid highlighter, which will further give a luminous sheen to the eyes and brow bone.
To make it pop, apply a powder highlighter to give it that extra shimmer. As to the application, use suggestions given in the instructions and try to mix one layer into another to avoid making this division obvious.
Layering, on the other hand, enables you to balance the degree of intensity of the highlighter to achieve the bright and big-eyed look that is very fashionable today.
Mistakes to Avoid with Eye Highlighter
Common Eye Highlighter Mistakes and How to Avoid Them
When applying eye highlighters, you could improve everyday things like using too much product, which gives the eyes a cakey or wet/shiny look.
Another error is not blending enough, so the makeup appears to have sharp lines or looks untidy.
Selecting the wrong color or material can also hinder the look from complementing one’s skin tone.
When applying the product, to prevent both problems, it is crucial to apply a small amount of the product, mix it using a brush or a fingertip, and choose the highlighter that is similar to your skin tone.
Carrying out these tips will help you look good naturally, with bright eyes that everyone will notice.
How to Fix Eye Highlighter Errors Quickly. (Blending Issues and How to Solve Them)
You can correct common mistakes with eye highlighters through quick fixes, especially when blending is poor. If you have over-applied, press the skin lightly with an oily ball to remove the excess.
Uneven blending? You should use a soft brush to blend the object’s edges with the background. So that it becomes invisible. For creasing, flatten the garment with your fingertips.
To avoid such incidences in the future, take a small amount of the product, apply the highlighter gradually, and ensure that you use one that fits your skin type. If followed, these small measures will assist you in acquiring an impeccable application of the eye highlighter.
Avoiding Overuse of Eye Brightner: Less is More
As with most make-up products, when fixing eye highlighters. do it in more quality than quantity to avoid making a weird look. Begin with a little and apply more if necessary, especially in areas like the brow bone and the inner corners of the eyes.
It was learned that overdoing applying a highlighter gives one an unnatural look and brings outlines to the face.
Mix adequately, preferably with soft pats or an artists’ wedge, to give it a natural glowing finish. This way, you will avoid excess marks in your application. It could bring vigor and remove your work’s refined appearance.
Enhancing Your Look with Eye Highlighter
Pairing Eye Highlighter with Other Makeup Products. (Eye Highlighter for Different Occasions)
Its combination with other makeup products means that the relation between eye highlighters and other products must be harmonious in enhancing an individual’s beauty.
Day makeup for the natural glow: mix the highlighter with the matte eyeshadows and sheer lipstick.
For the day, do a neutral look with the eyeshadow, adding shimmer to the lids and lipstick shades. that are more pastel to balance with the dewy highlight.
Don’t forget that the density of the applied gel and the zones with the application of the highlighter also depend on the occasion: strict for the office and dense for the nightclub.
Seasonal Eye Highlighter Trends to Try
Two seasons when you want to add warmth and depth, deeper shades of eye color such as gold and bronze are suitable for the fall and winter seasons. It is momentary that glitter or metallic finish would be ideal for use during festivities.
Maximizing your highlighter on a seasonal basis is also fun and appropriate since it forms part of your fashion. and you wear makeup in the changing seasons.
Celebrity Eye Highlighter Looks to Inspire You
Modern celebrities sometimes provide eye-catching highlighter looks that set trends and attract attention. From glamour on the red carpets to casual looks in day-to-day life. Celebs such as Rihanna and Zendaya, among others, embrace different styles.
Whether it is that elevated inner corner highlight for the day, to look and feel more awake. or that intense copper gleam across the lid for events.
Their use of highlighters creates trends in the shades, types, and ways they are used when doing one’s makeup. It makes people try to follow such trends set by their favorite celebrities.
And so, you get your conclusions and prove them to your pals. The information and ideas I have endeavored to present in my research and my trials will be helpful to you.
Thank you for taking the time to read and participate in this blog. I highly value and appreciate your thoughts and reviews. Please look out for the next blog post, which will cover exciting and informative topics. For now, stay safe, and happy traveling!
